Wearables

Hacking Your Hacker School T-Shirt
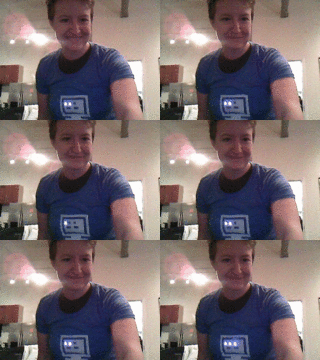
On the last day of our Hacker School batch, we got some cool commemorative T-shirts with the stylish Hacker School logo on them. Now, this is an excellent T-shirt, and the only way I know of to get an official one is to attend the last day of a batch of Hacker School, so it’s already a pretty rad shirt. I wanted to make it radder, and I did, and now I want to tell you how.

Secret Project Glow Cloud (Embroidery)

All of the stitches in the wearable circuit elements of Secret Project Glow Cloud were simple running stitches, which I tried to keep as consistent as possible. The real embroidery work for the Glow Cloud was concentrated in two decorative elements: the Welcome to Night Vale logo in front of the light sensor, and the cloud design in front of the light circuit.

Secret Project Glow Cloud (Electronics)

The author wearing a T-shirt with a glowing cloud design

Glow Selfie

A few months ago I ordered this Glow Gloud T-shirt, one of the first pieces of merchandise available promoting Welcome to Night Vale. A lot of other people love Welcome to Night Vale, and so the shirts were massively oversold for their first printing; as a result, I wasn’t sure when I was going to get my shirt. With a determination born of despondency, I turned to a big box of stuff I had ordered from Adafruit and a pile of fabric, and I said “Okay, I’ll make my own T-shirt. With glowy bits! And I’ll bet I can get it done before this T-shirt everyone else is going to have arrives!”

Four months later (and about three and a half months after the mass-produced T-shirt arrived), I wore my shirt for the first time. Here’s how I made it.